DLTK's Educational Activities
Nn is for Nest
Thanks to Sharra for sending this in!!
This is an easy 'paper nest' (not one of the ones you look through) that is fun for young children to put together.
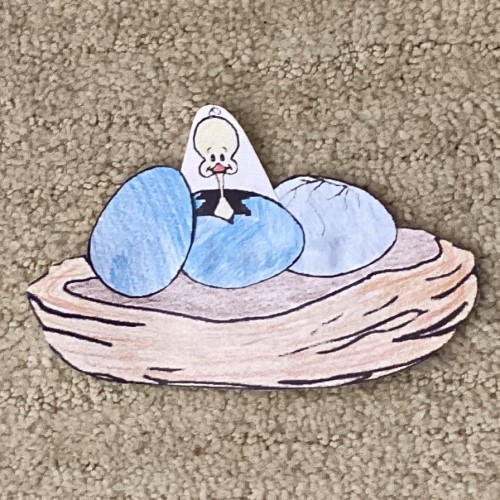
Sharra says: "I borrowed the nest from one of your mobiles and added three eggs, one cracked, one hatching and one still intact. The bird was too much for Stephanie to cut out. She snipped the head off the first one. We managed the second one with a bit more help from mom. We keep plenty of colored paper on hand to glue all our pictures on. We are building a very colorful alphabet book that Stephanie loves to show off now with her older brother and sister and I'm sure she will look at for years to come and we will save it for when she is grown. It's three volumes now, 1" ring binder notebooks..."
Materials:
- a printer,
- paper,
- scissors,
- glue,
- something to colour with.
Instructions:
- Print out the template of choice.
-
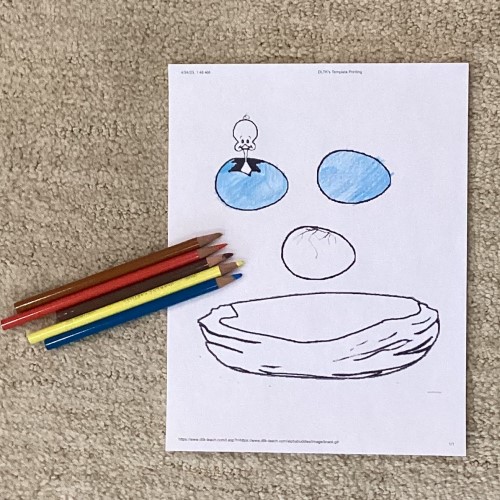 Colour pieces, as necessary.
Pencil crayons are my all time favorite tool for coloring. It's ok to scribble over the lines a bit since we're going to be cutting the pieces out. Actually... it's always ok to scribble outside the lines a bit! *wink* -
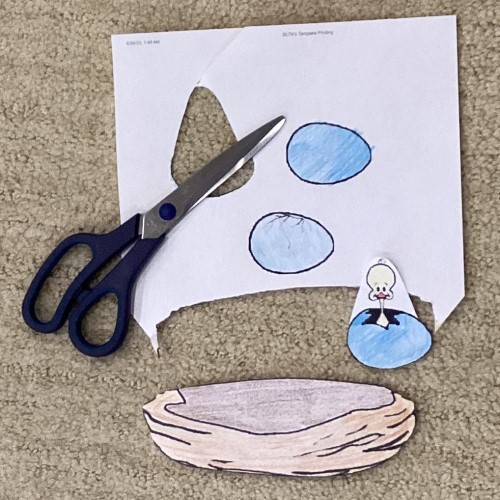 Cut out the pieces. This step may require adult assistance. I added a gray line to the template Sharra sent in to help kids from chopping off the poor baby bird's head!
 -
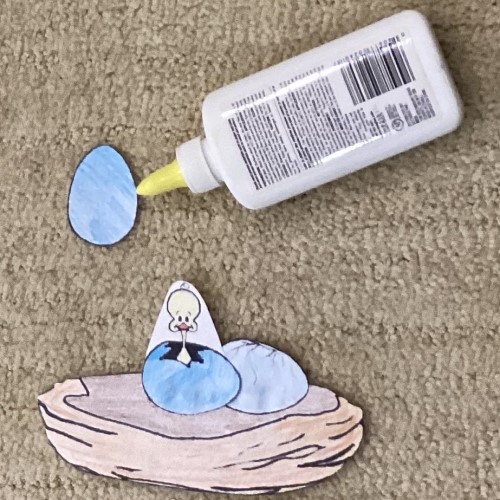 Glue the eggs and bird into the nest.
Templates:
- Close the template window after printing to return to this screen.
- Set page margins to zero if you have trouble fitting the template on one page (FILE, PAGE SETUP or FILE, PRINTER SETUP in most browsers).
Template for color printer
Template for B&W printer
Printable version of these instructions